Laptop not charging connected to power source? Check out 8 possible solutions
 Laptop not charging connected to power source? Check out 8 possible solutions" title="Laptop not charging connected to power source? Check out 8 possible solutions" />
 [ad_1]
If your notebook it's not charging the battery even though it's connected to the power source, don't despair. While it can be scary when this happens, there are many simple, easy-to-solve problems you can easily solve with the 8 tips below.
What seems so simple, insert the laptop charger into the socket and connect, but between the socket and your battery are several pieces that can fail. Some are easy to fix, with software or a new battery, but some problems may require a visit to a repair shop or even a complete operating system replacement.
Knowing what it is can save you hours of frustration and money on repairs. By taking an inside-out approach, you can quickly narrow down the source of the problem and find the most cost-effective solution.
Laptop not charging connected to power source? Check out 8 possible solutions
Below are some ways to find the source of the problem and resolve it.
1. Make sure you are logged in
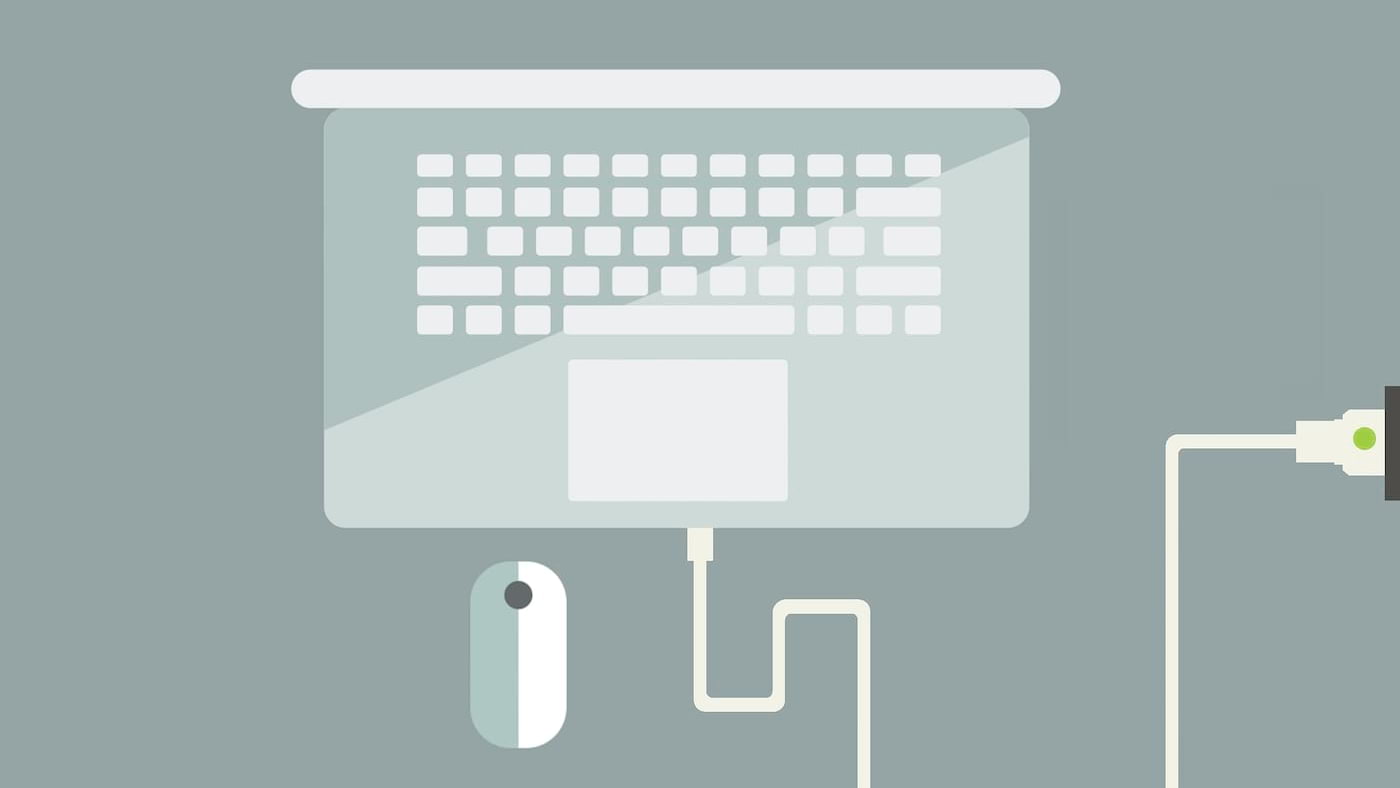
It may sound silly, but first of all, you need to make sure that the notebook is actually connected to the charger. No software tweaks or repairs hardware can make a disconnected laptop charge the battery. So before you do anything else, make sure your outlet is working properly by trying plugging the power cord into a different outlet. Also check if the notebook plugs are well fitted.
Make sure the power supply and all detachable cables are fully inserted. Next, make sure that the battery is properly seated in its compartment, and that there is nothing wrong with the contact points on the battery or notebook.
After eliminating the possibility that the notebook is not connected to the charger, let's go to the most common and easy problems to solve.
2. Remove the battery
A simple way to check the integrity of the battery is to completely remove it and try to turn on the notebook with only the charger connected, without the battery. If the notebook turns on correctly, the problem is probably a bad battery, in which case, be prepared to buy a new one.
3. Defective cable
Run the entire length of the power cord, flexing it, to check for kinks or breaks. Check the ends for broken connections, such as loose plugs or marks that parts may have been chewed off by a pet, or sucked up in a vacuum cleaner. Inspect the power supply, check for discoloration or any distorted/expanded parts Smell the power supply, if it smells like burnt plastic, that's likely the problem. Also check the connector.
When you connect notebook power charger, the connection must be stable. If it keeps oscillating between charging and not charging, the power supply or case must be damaged or broken somewhere.
If possible, try to borrow a charger compatible with your laptop to test and see if it works. In case it works, the problem is the charger itself, and you must replace the part.
4. Eliminate overheating
A battery not charging can sometimes be caused by an overheating laptop. This problem is twofold in that the charging system has been shut down to prevent a battery from overheating and causing a fire. Also, as the temperature rises, the battery sensor may fail, telling the system that the battery is fully charged or missing, causing charging issues.
These problems become much more likely ​​when dealing with older notebooks, which do not have the quality of cooling technology used today, or when using the notebook on the couch or bed, with a blanket or pillow covering the ventilation openings. Allow the system to cool and take the time to make sure the vents are clean and unobstructed. If that's the problem, avoid using your notebook on surfaces that impede air circulation, and we recommend that you buy a table to use your notebook with extra coolers, which will help to ventilate your equipment even more.
5. Update your drivers
Open the Device Manager in the Control Panel and under “Batteries” you will see two items, one called “Microsoft AC Adapter” and the other called “Microsoft ACPI Compliant Control Method Battery”. Open each of them, which will open a properties window. Under the “Driver” tab, you will see a button called “Update Driver”. Click on it.
Click “Search automatically for updated driver software”, and if necessary, update the driver. Once the drivers are up to date, restart the notebook and plug it back in.

If this does not resolve the issue, completely uninstall the "Microsoft ACPI Compliant Control Method Battery" by right-clicking on it. Mouse and choosing the uninstall option. After that, reboot the notebook.

6. Check your settings
In the settings, open the option “Power and Sleep”. Make sure everything is set up correctly. Watch out for incorrect battery, display, and sleep option settings. For example, battery settings can cause problems if you configure the computer to shut down when the battery level drops too low or set the low battery level too high a percentage.

You can also assign actions such as sleep and shutdown when the lid is closed or the power button is pressed by clicking on the “Additional Power Settings” option on the right.
If these settings have been changed, it's easy to suspect a power malfunction even if there's no physical issue with the battery or charging cable.

7. Ask the manufacturer's technical support for help
After trying all the previous tips without success, it's time to contact technical support. Your particular notebook brand and model will likely have its own problems, and an experienced tech support operator will have seen them all. This professional will likely walk you through many of the steps outlined above, but will also be aware of software and hardware issues specific to your setup, such as which hardware bits usually fail.
8. Seek technical assistance
When all your options are exhausted, after you've tried using other power cords and batteries, and you've checked your settings, corrected possible software problems, the conclusion is that the problem is probably inside the machine. Several internal parts can cause problems when they malfunction or fail, such as a motherboard faulty battery, faulty logic boards, faulty load circuits, and faulty battery sensors.
Contact the manufacturer about which repair options are covered under your warranty, or call your local computer repair shop.
[ad_2]
news source


